We love rain gardens. We may be partial because over the years we’ve designed and built some really successful rain gardens for properties of all shapes and sizes. Also, there’s something special about a landscape that is beautiful and also highly functional. Now, if you’re like many of the clients and friends we talk to about rain gardens, you’re probably thinking:
“What is a rain garden?”
A rain garden is a shallow depression in the land that is created to collect, filter, and infiltrate storm water. It is densely planted with native plants that tolerate extreme wet and dry conditions. The purpose of a rain garden is to keep storm water on site and improve its quality as it percolates down through the soil to recharge the water table. Plants are imperative to a rain garden because they absorb water with their roots and then, through transpiration, release it back into the atmosphere. Plant roots also create channels in the soil that improves water infiltration.

Benefits of Rain Gardens
Rain gardens provide many benefits to the earth, wildlife, and people. The earth benefits by improved water quality. Rain gardens filter pollutants and sediment through the plant roots and soil. In addition, rain gardens recharge the ground water and reduce surface water runoff, which prevents pollutants from entering waterways. Finally, holding the water reduces the volume and velocity of runoff thereby reducing soil erosion.
Wildlife benefits from the habitat rain gardens provide. The native plants in rain gardens provide nectar and pollen for butterflies, moths, and bees. These plants also create seeds and berries, and attract insects that birds eat. And the temporary marsh-like environment provides habitat for frogs, toads, turtles and other amphibians and reptiles. Conversely, mosquitoes are not problem if rain gardens drain within 72 hours since they need standing water to complete their life cycle.

People see reduced flooding in local communities when storm water is kept on site. This benefits us both with increased security and increased savings as taxpayers. The constant changes within a rain garden also encourage people to interact with the landscape. Monitoring the water levels, searching for caterpillars, and enjoying the perennials are all possibilities. And, of course, rain gardens are beautiful too!
Site Selection
Rain gardens can be installed on properties of all shapes and sizes. They are often installed on residential and commercial properties, homeowners associations, and in parking lot islands. Additionally, grant funding is becoming increasingly available for municipal storm water projects. Optimal sites are neither too steep nor too flat and have good drainage.
Location of Rain Gardens
First, determine the source of the storm water, such as a rooftop, driveway, or neighboring property. Then use these guidelines to choose a location for the rain garden:
- Start at the top. It is usually best to create a rain garden above wet areas.
- Keep rain gardens at least 10 feet away from buildings
- Do not create in an area that already holds water- additional water will not infiltrate into the soil
- For rain gardens larger than 200 square feet, consider building two
- Always do an infiltration test to make sure the rain garden drains properly
Rain Garden Design
Just like any other garden, rain gardens should be visually appealing. Use a few simple design strategies to build a rain garden that looks beautiful.
- Connect it with the existing landscape
- Mimic natural ecosystems and use attractive plant combinations
- Fill the garden with a mix of woody and herbaceous plants
- Allow for and direct overflow
Rain Garden Construction
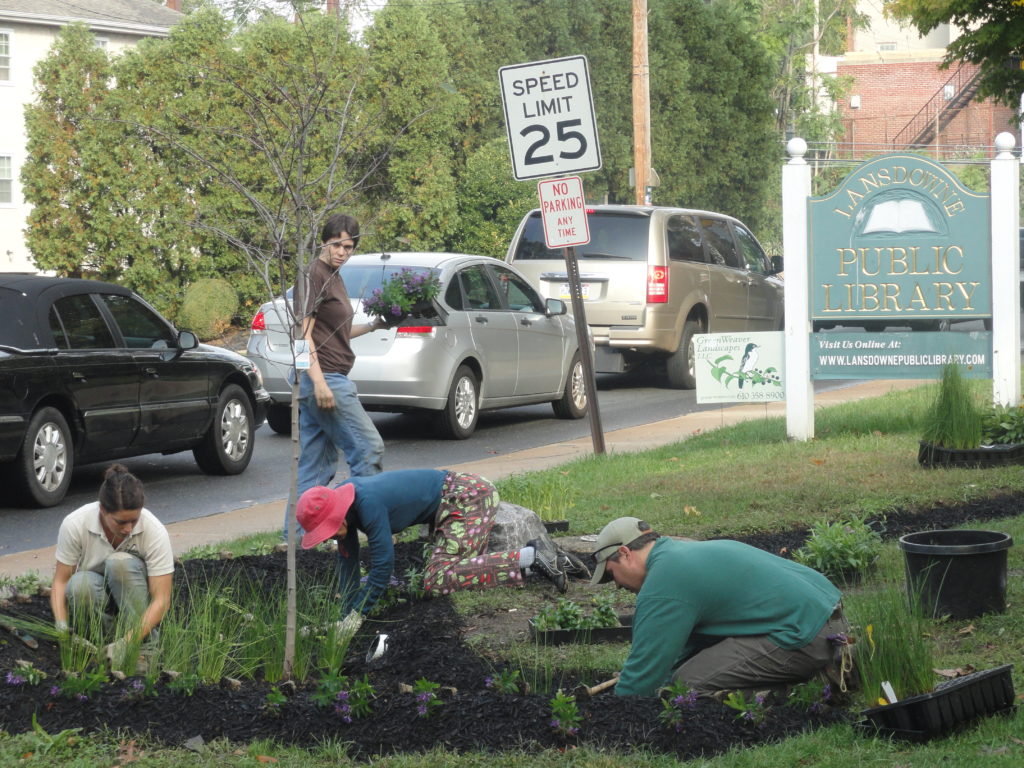
Depending on the existing site conditions and the size of the garden, rain gardens can often be built without machinery. However, quite a bit of physical labor can be involved to loosen soil and extend downspouts. A professional landscape company may take several days to build and plant a rain garden, while for homeowners, it may take several weekends.
Determine the location, and if you are capturing water from a roof, extend downspouts to the rain garden using buried 4″ pipe. Ensure proper flow by setting the pitch at 1/4″ to 1/2″ per foot.
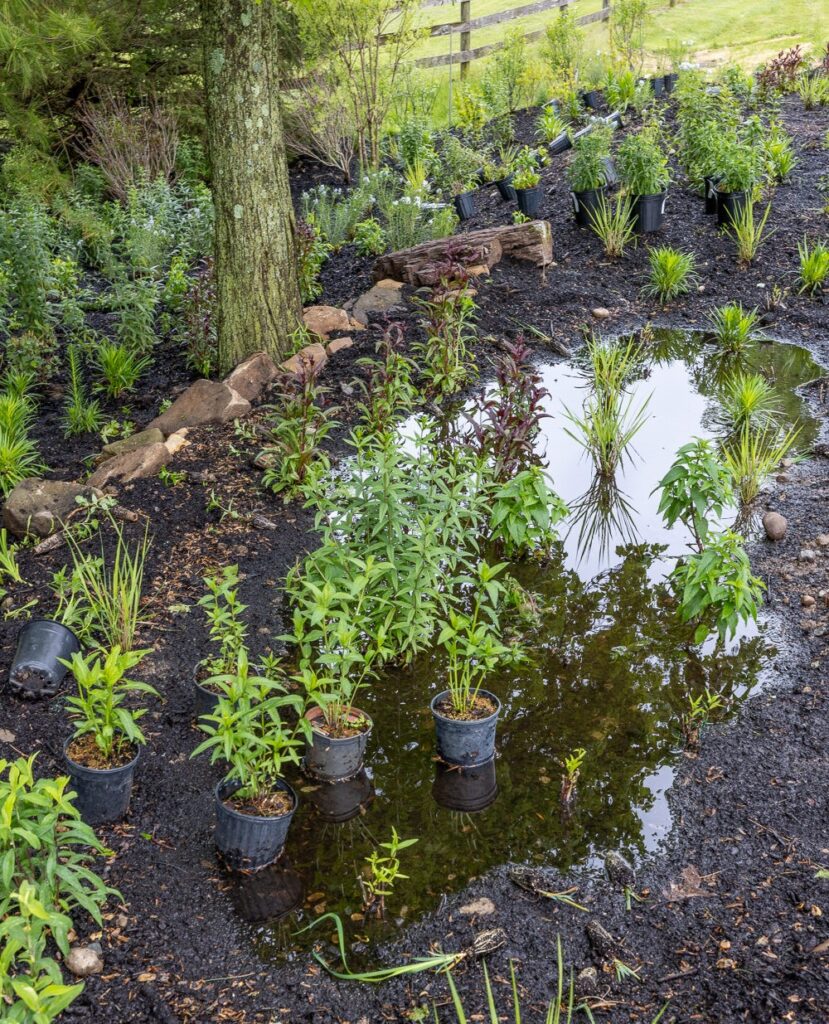
Excavate the rain garden and place the soil on the downhill side to build a berm and retain water. Tamp down the soil firmly. Turn the base of the garden deeply (2-4 feet). If soil texture is high in clay, add compost to improve drainage. Then level out the base so that water spreads evenly across the rain garden.
It is important to design an area for overflow during larger storm events. Direct water away from buildings and neighboring properties by creating a dip in the berm. Make the overflow lower than the top of the berm, but higher than the inlet.
Once the garden is formed, plant it densely and mulch it with either non-dyed shredded hardwood mulch or leaf compost. Mulch keeps the soil moist, prevents soil from washing away, and helps reduce weeds while your new plants get established.
Rain Garden Maintenance
There are two key elements to the rain garden: the garden and the downspouts (if applicable). If both elements are maintained regularly, a rain garden is a long-lasting, functional element to the landscape. Maintenance includes:
- Regular garden maintenance such as weeding.
- Cut back perennials in the spring.
- Mulch once per year for the first 2-3 years. After the garden plants fill in, additional mulch is not necessary.
- Keep gutters, downspouts, and underground pipes clear.
- Clean out inlets, outlets, and overflows as needed.
- Repair any erosion that occurs.
Plants for Rain Gardens
There are many, great, native plants to use in a rain garden. Native plants are adapted to our cold winters, wet springs, and very dry summers. For rain gardens, look at what grows near wetlands, streams, rivers, and ponds and mimic those combinations. There are 3 basic zones to a rain garden:
Zone 1/ FACW- Inundated after storm events, wet/mesic soil between storm events. Select plants that grow in wetlands, ephemeral streams, or along the water’s edge, without growing in the water. For the bottom of the rain garden, try plants like:
- Swamp Milkweed/ Asclepias incarnata
- Creek Sedge/ Carex amphibola
- Rose Mallow/ Hibiscus moscheutus
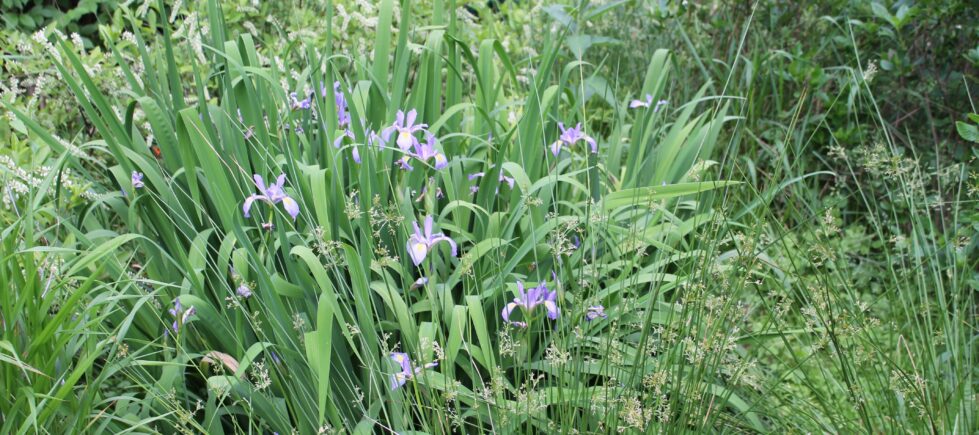
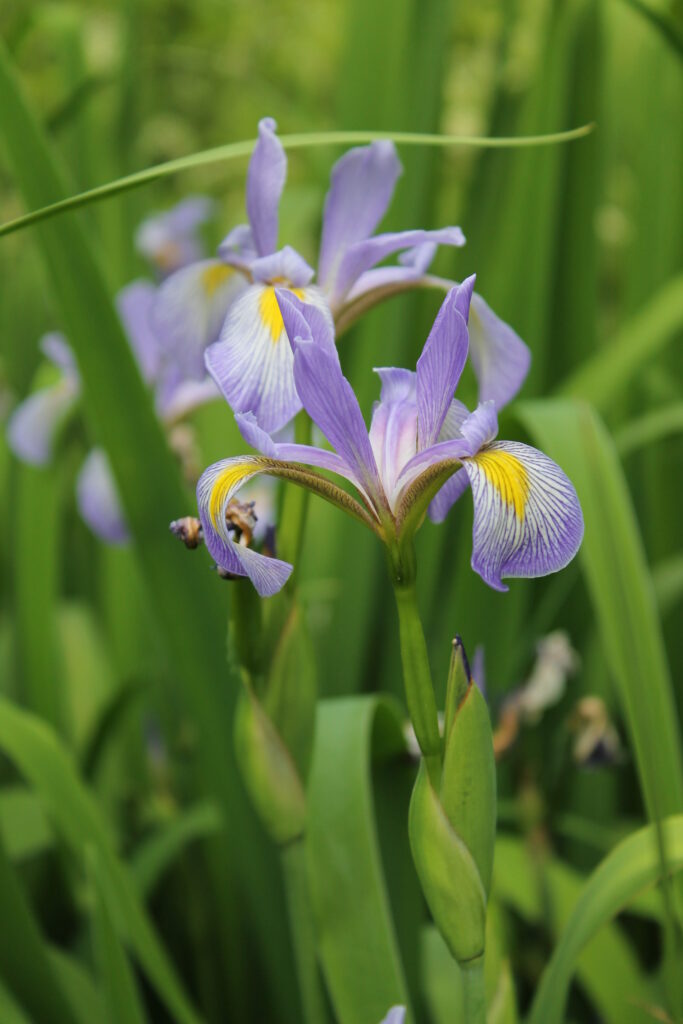
- Blue Flag Iris/ Iris versicolor
- Winterberry Holly/ Ilex verticillata
- Soft Rush/ Juncus effusus
Zone 2/FAC- Inundated after storm events, dry soil between storm events. For the interior “walls” of the rain garden, try plants like:
- Spiderwort/ Tradescantia spp.
- Blazing Star/ Liatris spicata
- Lady in Red Fern/ Anthyrium felix-femina
- Bee Balm/ Monarda didyma
- Little Joe Pye Weed/ Eupatorium dubium
- Virginia Sweetspire/ Itea virginica
- Inkberry Holly/ Ilex glabra
- Red-twig Dogwood/ Cornus sericea ‘Baileyi’
- Red Chokeberry/ Aronia arbutifolia
- Smooth Witherrod/ Viburnum nudum
- Summersweet Clethra/ Clethra alnifolia ‘Ruby Spice’
- Serviceberry/ Amelanchier ‘Autumn Brilliance’
Zone 3/FACU/UPL- Inundated after extreme storm events, very dry between storm events. For the uppermost perimeter of the rain garden, try plants like:
- Husker Red Beardtounge/ Penstemon digitalis ‘Husker Red’
- Foamflower/ Tiarella cordifolia
- Coreopsis/ Coreopsis verticillata ‘Zagreb’
- New England Aster/ Aster novae-angliae
- Wood Geranium/ Geranium maculatum
- Black-eyed Susan/ Rudbeckia fulgida
- Northern Sea Oats/ Chasmanthium latifolium
- Sweetbay Magnolia/ Magnolia virginiana
- Red Maple/ Acer rubrum
Other Considerations
If for any reason a rain garden is not appropriate for your site, there are other ways that you can manage storm water. Here are some alternative ideas:
- Rain barrels
- Green roofs
- Porous surfaces
- Deep-rooting meadows
Remember, the environmentally friendly approach to managing rainwater is to keep it on site. Rain gardens are a very effective and beautiful way to do this! Do it yourself, or contact us for help!